For nearly 2 decades, I’ve been canning and preserving in cramped, poorly appointed kitchens. And I haven’t killed anyone yet! If I can do it…
The following resources will get you started canning, drying and dehydrating, fermenting, and other forms of preserving your garden’s bounty at home.
Drying herbs is the easiest, safest place to start. When it comes to canning, I recommend trying your hand with a fool-proof pickle that is high in acid (and therefore an inhospitable environment for botulism to form), and work your way up from there. You’ll find recipes and some instructions on this site by searching the tags canning or preserving. More in-depth canning instruction along with a few recipes can be found in my book, Grow Great Grub: Organic Food From Small Spaces. You will find even more in-depth preserving instruction and recipes in 2 of my other books: Easy Growing: Organic Herbs and Edibles from Small Spaces and Drinking the Summer Garden.
Drying and Dehydrating
- Make Oven Dried Plums
- How to make tomato powder.
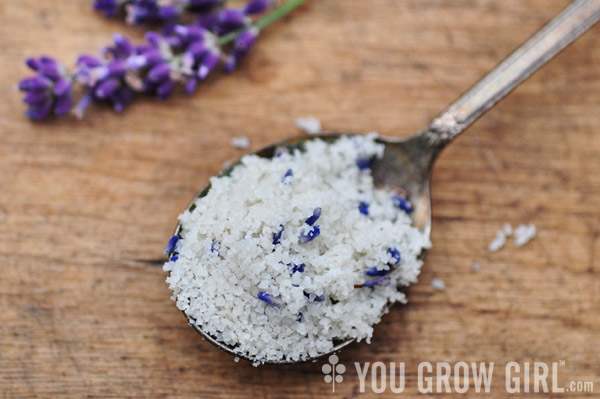
- Lavender Sea Salt
- Salomoia Bolognese (Italian Herbed Salt)
- How to dry and store rose petals.
- How to dry and store linden flowers.
- Davin’s patented herb-drying contraption.
- Tips for drying herbs by hanging.
- Homegrown Smudge Sticks
Canning Instruction and Recipes
- Canning 101
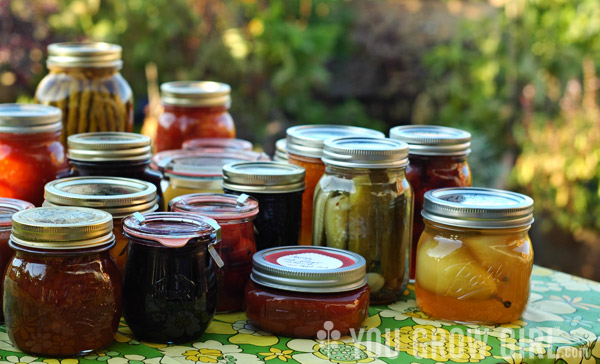
- The nearly limitless uses of canning jars.
- An extensive list of pickling flavours to grow or buy.
- A myriad of ways to preserve and use up green tomatoes.
- Canning Tomatoes (3 Recipes): Green tomato chutney, Superior heirloom tomatoes, Old-fashioned tomato ketchup.
- Oven-Roasted Salsa Verde
- Pickled Garlic Scapes
- Pickled Radish Seedpods
- Concord Grape Juice
Homemade Jam and Jelly Recipes
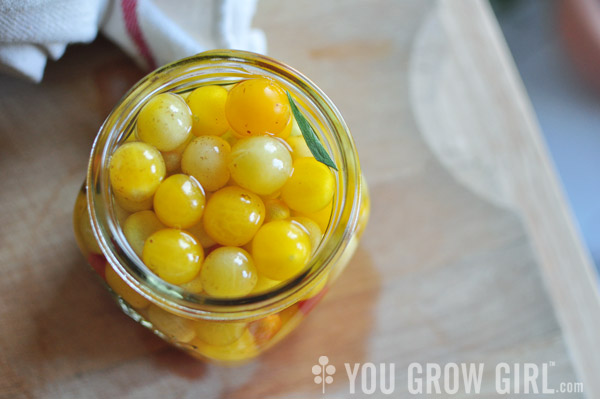
- Golden Plum and Vanilla Jam
- Concord Grape Jam/Jelly
- Serviceberry Jam
- Low-Sugar Pepper Jelly using Pomona Pectin.
Fermentation and Wine-Making
- On Fermenting Things
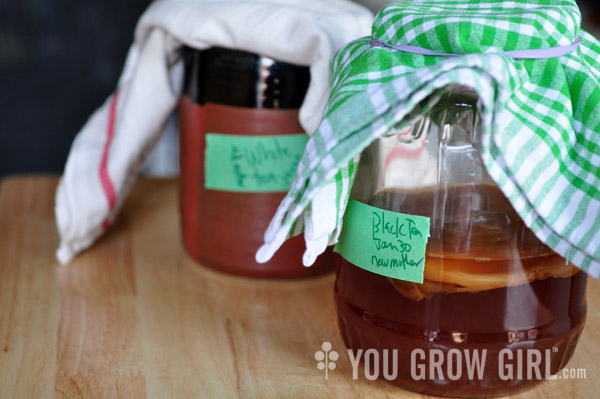
- How to make your own Kombucha Scoby from scratch.
- Almost free foraged Hard Apple Cider
- Kombucha Candy
Freezing
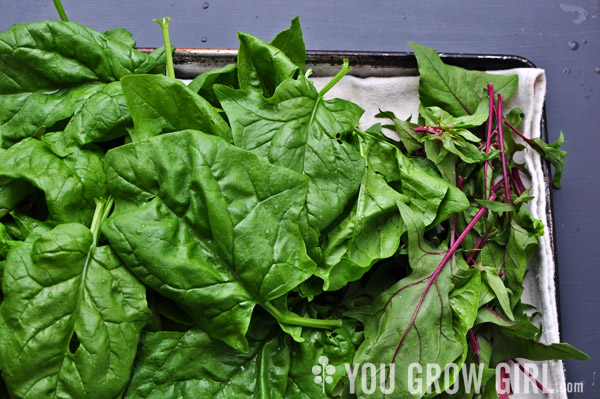
- How to freeze fresh spinach.
- How to freeze summer squash.
Other Preservation Methods
- Make violet flower simple syrup.
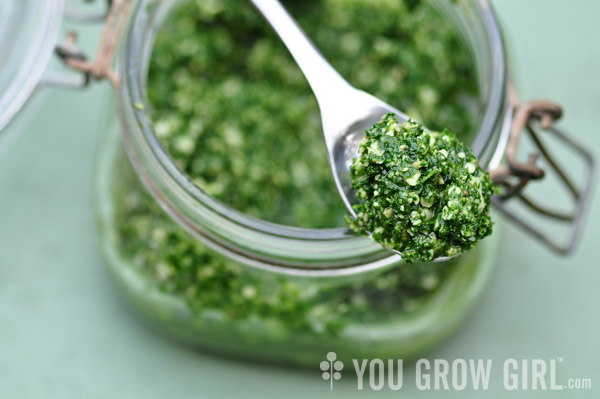
- Nasturtium Leaf Pesto
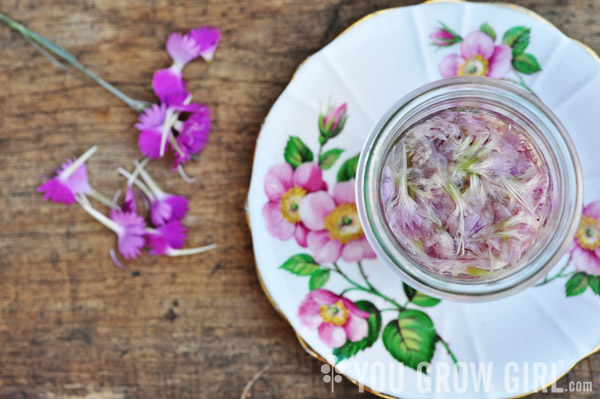
- Dianthus flower Infused Vodka
- Make herb-infused vinegars.
- Lavender Blossom Simple Syrup
Books on Canning and Preserving
The Ball and Bernardin (in Canada) Complete Book of Home Preserving along with the Blue Book Guide to Preserving are highly regarded as the most popular tomes. If you want hardcore, indepth information on canning everything under the sun, these are the books for you. I have to admit that I find them a bit dry and have never made a single recipe from these books, but my mistake was waiting until I was well experienced as a canner before picking them up.
I personally recommend Well-Preserved by Eugenia Bone. Her writing is conversational and entertaining, and is written from the perspective of a New York apartment dweller with real-world ingredients and realistic, small-batch quantities.
For something a little bit off the well beaten path I suggest: Jellies, Jams & Chutneys, Preserves (This is the copy I have but it is listing at $206!!), and Fruits of the Earth
When it comes to fermenting, I highly recommend starting with Wild Fermentation: The Flavor, Nutrition, and Craft of Live-Culture Foods and working your way up to this comprehensive tome The Art of Fermentation: An In-Depth Exploration of Essential Concepts and Processes from Around the World, both by Sandor Katz.
Tools I Recommend for Canning and Preserving
Water Bath Canner/Kettle: Do yourself a favor and get yourself a water bath canning kettle that comes fitted with a rack. Sure, any old large cooking pot will work, but a water bath canner is concave on the bottom and made to fit properly over your stove’s element. It has a tight-fitting lid that won’t let heat escape during the canning process (this is essential for safe canning). A rack keeps jars in place and prevents the nerve-jangling racket of jars clanging against one another.
Home Canning Kit: I have been canning for more than a decade and can say with authority that if you are planning to can even once, it is worth investing in a kit. I tried canning without it in the beginning and came away blistered, burned and terribly frustrated. Think of it as a preventative measure. The fact is you can probably get by without the jar opener and the tongs but the funnel, lid lifter, and jar lifter tools are as essential as the canning kettle itself.
Food Mill: Don’t get me wrong, you can make sauce without a food mill. For years I relied upon a wood and metal chinoise bought at a garage sale for 5 bucks to get me through making a year’s supply of tomato sauce in a day. It was tough and messy labor, squishing, and pounding hot tomatoes through the press. Somewhere in my head I had it that a food mill, which clearly costs more than 5 bucks, was not worth the money. And so we labored on year after year, jar after jar until finally, one day, I broke down and took the plunge. What was I waiting on? The food mill is only about a thousand times easier and cleaner than the chinoise. We use it to make a year’s supply of apple sauce in the Fall, too. Totally worth the investment.
Did I mention it is also essential for making the BEST homemade heirloom tomato soup you will ever eat?

Weck Jars: Probably the most common canning question I get is about the pretty Weck jars featured in some of my photos. Before I tell you where to buy these pricey gems, a word of warning: Weck jars are not made to fit standard canning equipment including jar lifters. The larger Weck jars area total pain in the but to can with, but I will admit that the result is worth it. Plus, every part of the jar that touches the food is glass — they’re safer over the long-term. They may be expensive, but think of them as a life long investment that you’ll be using over and over for years to come.
My suggestion to beginners is to stick with the smaller-sized jars — they do fit standard canning tools — and then work your way up to the difficult, larger jars.

Silpat Baking Sheet: I have to admit that I bought my Silpat on a whim one day while perusing a fancy kitchen gadget store. “What is the fuss all about?” I wondered.”The price is a bit steep.Is it really all that?” Yes. It really is all that. I can’t believe how I often I pull it out in place of parchment. I rarely compost the parchment I use because it is often coated in oils. So I’m putting a lot less paper into the garbage can and saving money too. Nothing sticks to it. It’s obviously great for cookies, crackers and other thin baked goods, but I’ve also used it to make fruit leather from a glut of summer peaches. Just peel and slice the peaches, cook into a sauce on the stove, and slather it evenly onto a silpat-lined cookie sheet. Bake at a very low temperature until you can pull the fruit leather off like plastic. Delicious.
Excalibur 9 Tray Food Dehydrator: I’ve been using this dehydrator for a few seasons now to make dehydrated peach, apple, banana, pear, zucchini, and tomato slices, as well as cherries, onion bits, apricots, peppers, fruit leathers, and even watermelon. It is the queen of dehydrators! That said, I don’t love it for drying herbs. The motor blows from the back of the machine, and I’ve found that the herbs start to scatter as they dry. For this purpose I still rely on my cheap and cheerful Nesco 600-watt machine to dry difficult herbs and edible flowers including rose petals. The motor is on top, blowing hot air down through the layers rather than sideways.